
Starting your own sourdough starter may seem intimidating at first, but it’s simpler than most people think. All you need is flour, water, patience, and a warm spot in your kitchen. With this step-by-step guide, you’ll have a bubbly, active sourdough starter ready in about a week. This starter will become the foundation for delicious homemade sourdough bread, focaccia, and other baked treats.
What Is a Sourdough Starter?
A sourdough starter is a living culture made from flour and water that cultivates natural yeast and friendly bacteria. These microorganisms work together to leaven bread without the need for commercial yeast. While it might sound unusual, wild yeast is present in the flour, in the air, and even on your hands—it’s just a matter of giving it the right environment to grow.
Once established, the starter is the heart of sourdough baking. Its tangy flavor, airy texture, and ability to make bread rise naturally cannot be replicated with store-bought yeast.
How Long Does It Take?
Creating a sourdough starter from scratch typically takes seven days, though sometimes it may take up to two weeks. The process starts with whole wheat flour to kickstart fermentation. After that, daily feedings with all-purpose or bread flour help cultivate a healthy, active starter. Temperature plays a critical role, ideally around 70–75°F, so plan accordingly.
Signs Your Starter Is Ready
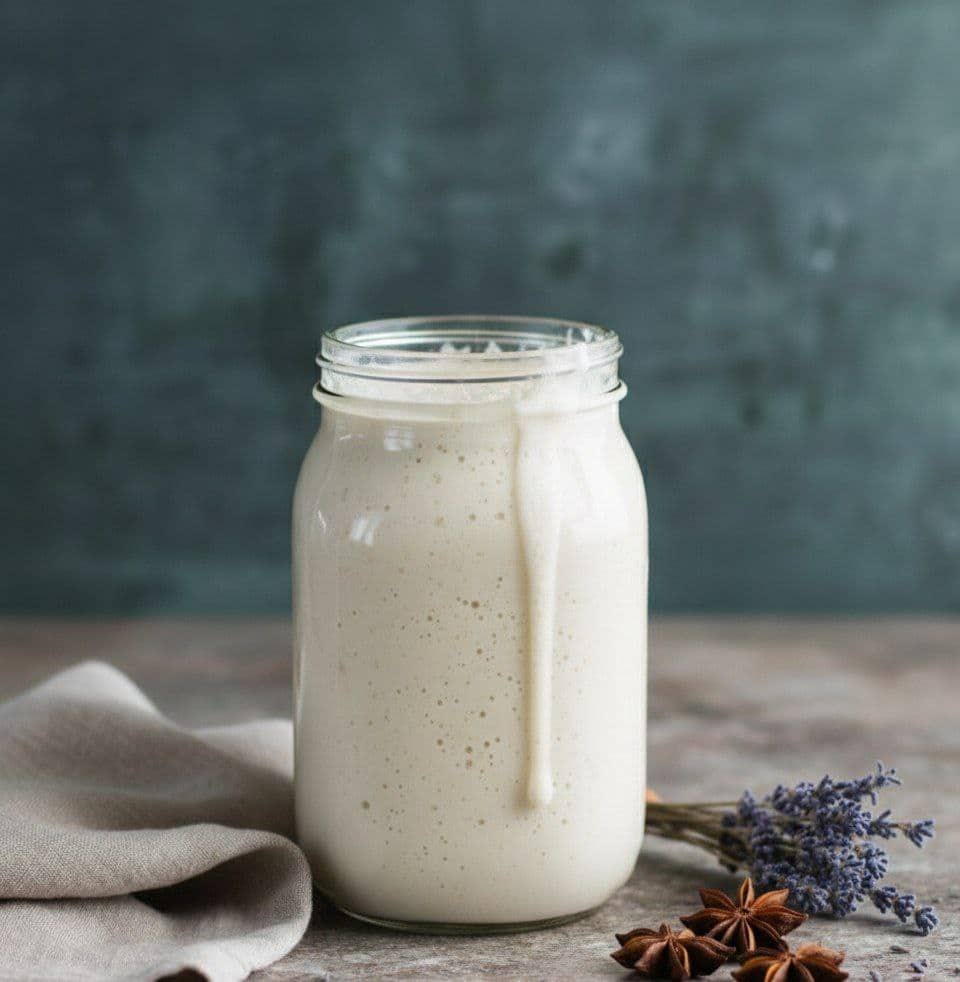
Your starter is ready to bake with when it has doubled in size and is filled with bubbles, both large and small. The texture should be light and spongy, and the aroma should smell pleasantly tangy rather than overly sour or unpleasant.
Is It Difficult?
Not at all. The process is mostly hands-off. Essentially, you mix flour and water, feed the starter daily, and wait. The most challenging part for beginners is patience. Don’t overthink the process—stick to the steps, and your starter will thrive.
Supplies and Ingredients You’ll Need
Supplies
- A 3/4-liter jar or similar size
- Digital kitchen scale
- Small spatula or spoon
Ingredients
For Day 1 (starting the starter):
- 60 g (1/2 cup) whole wheat flour
- 60 g (1/4 cup) water
For daily feedings (Days 3–7):
- 60 g (1/2 cup) all-purpose or bread flour
- 60 g (1/4 cup) water
Tips:
- Use unbleached flour for best results.
- Filtered or chlorine-free tap water works fine.
- Whole grain flours absorb more water, so adjust if needed.
Step-by-Step Sourdough Starter Guide
Day 1: Begin Your Starter
Combine 60 g of whole wheat flour with 60 g of water in your jar. Stir until smooth; the mixture should have a thick, pasty texture. Cover loosely with a lid or plastic wrap, and place in a warm spot, ideally around 70–75°F, for 24 hours.
Temperature Tip:
If your kitchen is cool, place the jar inside an oven with the light on for a short period to gently warm it. Avoid leaving it in an overly hot environment, as this can stress the yeast.
Day 2: Look for Bubbles
Check for small bubbles on the surface, indicating that fermentation has begun. Don’t worry if you don’t see any yet—bubbles can form and collapse overnight. You can stir once or twice to add oxygen but leave it undisturbed otherwise.
Hooch:
A dark liquid may appear on the surface; this is called “hooch” and is a sign your starter is hungry. It can smell a bit sharp, like rubbing alcohol. Simply pour it off before feeding.
Days 3–7: Daily Feedings
At this stage, you’ll remove a portion of the starter and feed it daily. The goal is to gradually build up to about 1 cup (236 g) of active starter.
Day 3
- Remove and discard half (about 60 g) of the starter.
- Add 60 g all-purpose flour and 60 g water. Mix until smooth, scraping down the sides.
- Cover and rest in a warm spot for 24 hours.
Day 4
- Remove half (90 g) of the starter.
- Feed with 60 g flour and 60 g water. Mix and scrape down the sides.
- Let rest 24 hours.
Tip: It’s normal for growth to slow down after switching from whole wheat to all-purpose flour.
Day 5
- Discard half (105 g) of the starter.
- Feed with 60 g flour and 60 g water.
- Let rest 24 hours.
Day 6
- Discard half (112 g) of the starter.
- Feed with 60 g flour and 60 g water.
- Let rest 24 hours.
Day 7
- Discard half (116 g) of the starter.
- Feed with 60 g flour and 60 g water.
- Let rest 24 hours.
By Day 7 or 8, your starter should be bubbly, light, and spongy. The aroma should be tangy and pleasant—if it’s still weak, continue daily feedings until it becomes active.
Storing and Maintaining Your Starter
Once your starter is active and bubbly, proper storage is key to keeping it healthy.
Room Temperature
If you bake frequently, store your starter at room temperature. Feed it once or twice a day to keep it active. A room temperature starter ferments faster, which helps it rise predictably and keeps it ready for baking.
Refrigeration
If you bake only occasionally, you can store your starter in the fridge. Feed it about once a week to maintain strength. When ready to bake, you can wake it up with a feeding at room temperature. There’s no need to warm it before storage—just feed it and return it to the fridge.
Using Your Starter
Your starter is ready to use when it doubles in size, is bubbly, and passes the float test: drop a teaspoon of starter into water; if it floats, it’s ready to bake with.
Tips for Beginners:
- Feed your starter at roughly the same time each day to establish a predictable schedule.
- Track its growth by marking the jar with a rubber band or tape.
- Clean your jar regularly to prevent mold buildup.
Troubleshooting
Slow Growth: Some starters take longer than a week to become strong. Factors like temperature, flour type, and even humidity affect yeast activity. Continue daily feedings until it’s bubbly and doubles in size.
Hooch Formation: This dark liquid is normal. Pour it off before feeding.
Smell: A healthy starter smells pleasantly tangy. If it smells rotten or develops mold, discard and restart.
Flour Variations:
- All-purpose flour: Works well, may take slightly longer.
- Bread flour: Absorbs more water; adjust consistency if needed.
- Whole wheat, spelt, or rye: Can be used alone, but water adjustments may be necessary.
- Bleached flour: Possible but not recommended, as chemicals can interfere with fermentation.
Day 1:
-
Combine whole wheat flour and water in a jar.
-
Mix until smooth; cover and rest in a warm spot (70–75°F) for 24 hours.
Day 2:
-
Check for bubbles. Stir once or twice if desired.
-
Rest 24 hours.
Days 3–7:
-
Discard half of the starter each day.
-
Feed with 60 g flour and 60 g water. Mix well, scrape down jar sides, and cover.
-
Rest in a warm spot for 24 hours.
Day 8:
Notes
- “Equal parts” refers to weight, not volume. 60 g flour ≠ 60 g water by volume.
- Always feed at roughly the same time each day to train your starter.
- If starter is inactive, continue daily feedings until bubbles appear and growth is consistent.
- Discarded starter can later be used in pancakes, crackers, or other recipes once the starter is established.
- Naming your starter is optional, but many bakers enjoy personalizing their culture