
There’s something incredibly comforting about warm, naturally sweet fruit fresh from the oven. If you’re looking to refresh your breakfast or dessert routine with something wholesome and satisfying, these Gluten Free Baked Pears are exactly what you need. Simple to prepare and packed with flavor, this recipe turns everyday ingredients into a cozy, nourishing dish you’ll want to make again and again.
Whether you enjoy them as a light breakfast, a healthy dessert, or even a midday snack, baked pears bring a perfect balance of sweetness and warmth. The best part? They’re naturally gluten free, easy to customize, and feel just indulgent enough without being heavy.
Let’s dive into why this recipe deserves a spot in your kitchen.
Why You’ll Love This Recipe
If you’ve been stuck in a food rut lately, this recipe is a great way to bring back excitement—without complicating your routine. These baked pears are:
- Quick to prepare with minimal prep time
- Naturally gluten free, making them suitable for many diets
- Made with simple ingredients you likely already have
- Perfectly customizable depending on your taste preferences
- Warm, comforting, and satisfying without being overly sweet
From the first bite, you’ll notice how the pears soften beautifully while soaking up the rich flavors of honey, cinnamon, and vanilla. It’s the kind of recipe that feels homemade in the best way.
Ingredients for Gluten Free Baked Pears
This recipe uses a simple combination of pantry staples to create a naturally sweet and flavorful dish.
Main Ingredients
- Fresh Pears
Choose ripe but firm pears like Bosc or Anjou. They hold their shape well while baking and become tender without turning mushy. - Honey or Maple Syrup
Adds natural sweetness and helps caramelize the pears as they bake. - Butter or Coconut Oil
Provides richness and enhances the texture. Coconut oil is a great dairy-free option. - Cinnamon
Brings warmth and depth of flavor. A must-have for cozy recipes like this. - Vanilla Extract
Adds a subtle sweetness and rounds out the flavors beautifully. - Chopped Nuts (Optional)
Walnuts, pecans, or almonds add crunch and a boost of healthy fats. - Dried Fruits (Optional)
Raisins or dried cranberries work wonderfully for added texture and sweetness.
Flavor Variations and Substitutions
One of the best things about this recipe is how adaptable it is. You can easily tweak it based on what you have on hand or your personal preferences.
- Swap the sweetener
Use maple syrup, agave, or even date syrup instead of honey. - Change the spices
Try adding nutmeg, ginger, or a pinch of allspice for a deeper flavor profile. - Make it vegan
Use coconut oil instead of butter and maple syrup instead of honey. - Add a crunchy topping
Sprinkle gluten free granola or oats on top before baking for extra texture. - Include chocolate
A few dark chocolate chips added after baking can turn this into a more indulgent dessert.
How to Serve Baked Pears
These gluten free baked pears are incredibly versatile and can be enjoyed in several delicious ways:
- With yogurt
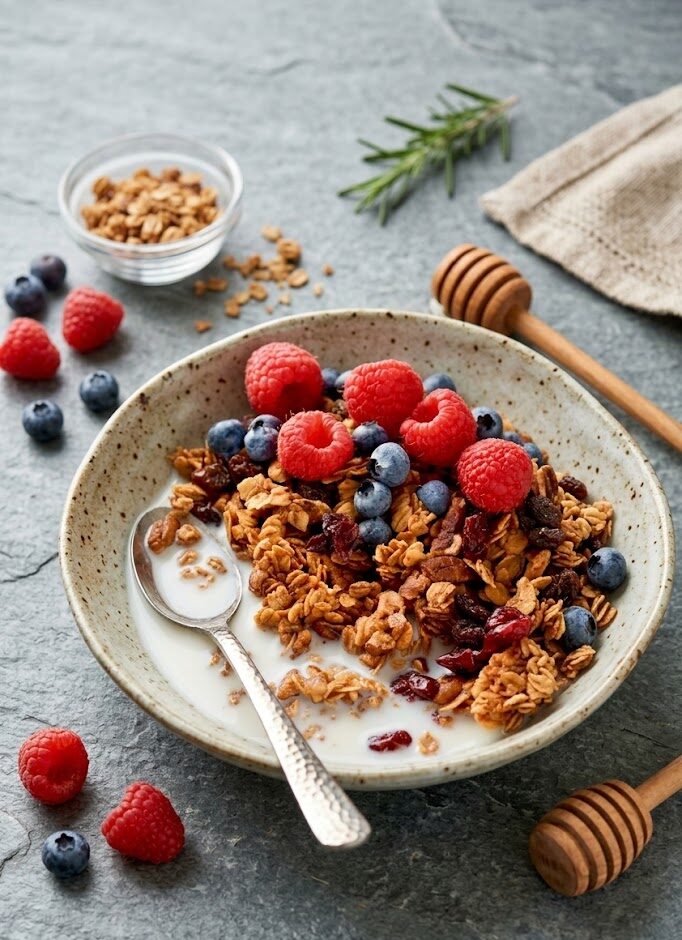
Serve warm pears over a bowl of yogurt for a balanced and filling breakfast. - As a parfait
Layer baked pears with yogurt and granola for a beautiful and nutritious parfait. - With oatmeal
Add them to your morning oats for natural sweetness and flavor. - As a dessert
Pair with a scoop of vanilla ice cream or whipped cream for a simple yet elegant treat. - On their own
Sometimes, the best way to enjoy them is straight from the dish—warm, soft, and perfectly spiced.
Tips for the Best Results
To make sure your baked pears turn out perfectly every time, keep these tips in mind:
- Use firm pears
Overripe pears can become too soft and lose their shape. - Don’t skip the seasoning
Cinnamon and vanilla elevate the flavor and make the dish feel complete. - Watch the baking time
Pears should be tender but not falling apart. - Let them cool slightly
This allows the juices to thicken and enhances the flavor.
Storing and Freezing
These baked pears store beautifully, making them great for meal prep.
- Refrigeration
Store leftovers in an airtight container in the fridge for up to 4 days. - Freezing
You can freeze baked pears in portion-sized containers. Thaw overnight in the fridge and reheat gently before serving. - Reheating
Warm them in the microwave or oven until heated through.
A Simple Way to Eat Healthier
Incorporating recipes like this into your routine is a great way to enjoy healthier food without sacrificing flavor. These baked pears are naturally sweet, require minimal added sugar, and provide fiber and nutrients from whole ingredients.
They’re proof that eating well doesn’t have to be complicated or boring.
- Preheat the oven to 375°F (190°C). Line a baking dish with parchment paper or lightly grease it.
- Prepare the pears: Wash, halve, and core the pears. If desired, peel them, though leaving the skin adds fiber and texture.
- Mix the glaze: In a small bowl, whisk together honey (or syrup), melted butter or coconut oil, vanilla extract, and cinnamon.
- Arrange the pears: Place the pear halves cut-side up in the prepared baking dish. Drizzle the glaze evenly over each pear half.
- Add optional toppings: Sprinkle nuts and dried fruits over the pears if using. Add a pinch of nutmeg or allspice for extra warmth.
- Bake: Place in the oven and bake for 25–30 minutes, or until pears are tender but not mushy. Check at 20 minutes to avoid overcooking.
- Serve warm: Enjoy immediately as is, or serve over yogurt, oatmeal, or granola.
Notes
- Pear selection: Choose firm pears that hold their shape during baking. Overripe pears may become too soft.
- Sweetener swap: Honey can be replaced with maple syrup or agave nectar.
- Dairy-free option: Use coconut oil instead of butter.
- Spice variations: Nutmeg, allspice, or ginger work well in addition to cinnamon.
- Serving ideas: Pair with yogurt, granola, oatmeal, or a scoop of ice cream for a simple dessert.